Colorizing Black & White Photos: Complete AI Guide

The Magic of Colorization
Black and white photography captures emotion and timeless beauty, but color connects us directly to the reality our ancestors lived in. Until recently, manual colorization took digital artists dozens of hours of meticulous research and layering in Photoshop.
With modern deep learning models, AI analyzes contextual clues in grayscale imagery—fabric textures, skin tones, atmospheric lighting, and architectural eras—to predict authentic hues with astounding accuracy.
Step 1: Start with a High-Resolution Scan
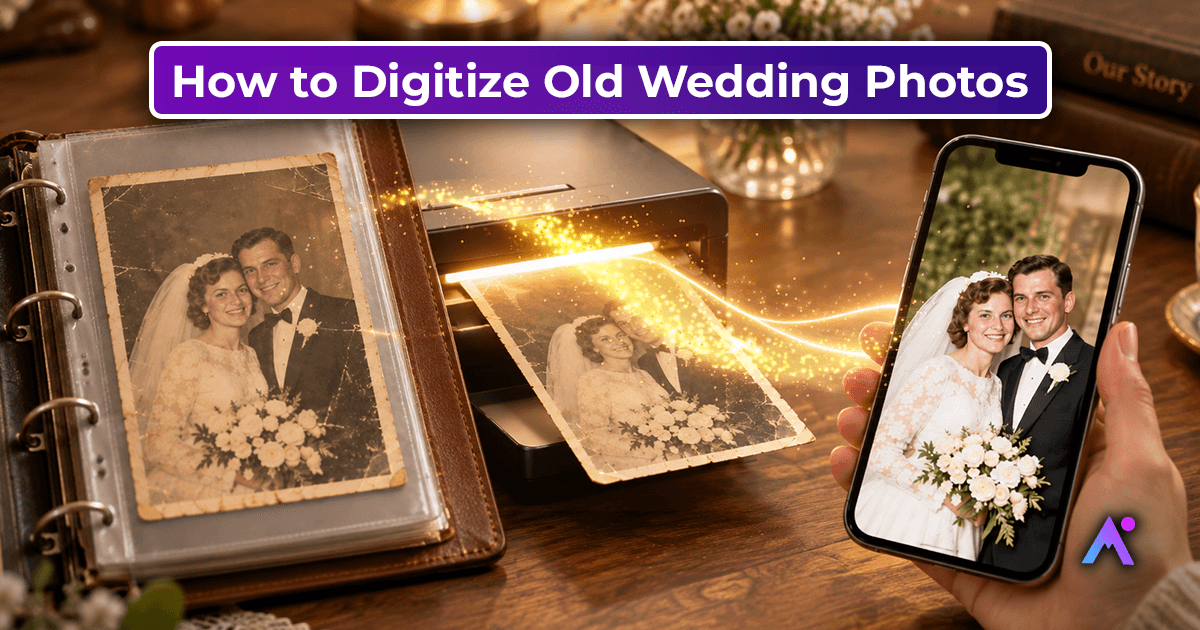
Before uploading your image to Animate Memories, ensure your original photo is cleanly scanned at 300 to 600 DPI. Clean the glass scanner bed to remove dust specks and avoid glare from overhead lights.
Step 2: Auto-Enhance and Scratch Removal
Old photos often suffer from creases, silvering, and chemical fading. Running the photo through our Enhance & Restore tool first prepares the base layer by sharpening edges and stabilizing tone curves before colorization begins.
Step 3: Fine-Tuning Skin and Background Warmth
Natural lighting changes dramatically depending on whether a photo was taken indoors with early flashbulbs or outdoors under sunlight. Adjusting the warmth slider helps recreate the exact ambient conditions of the day.
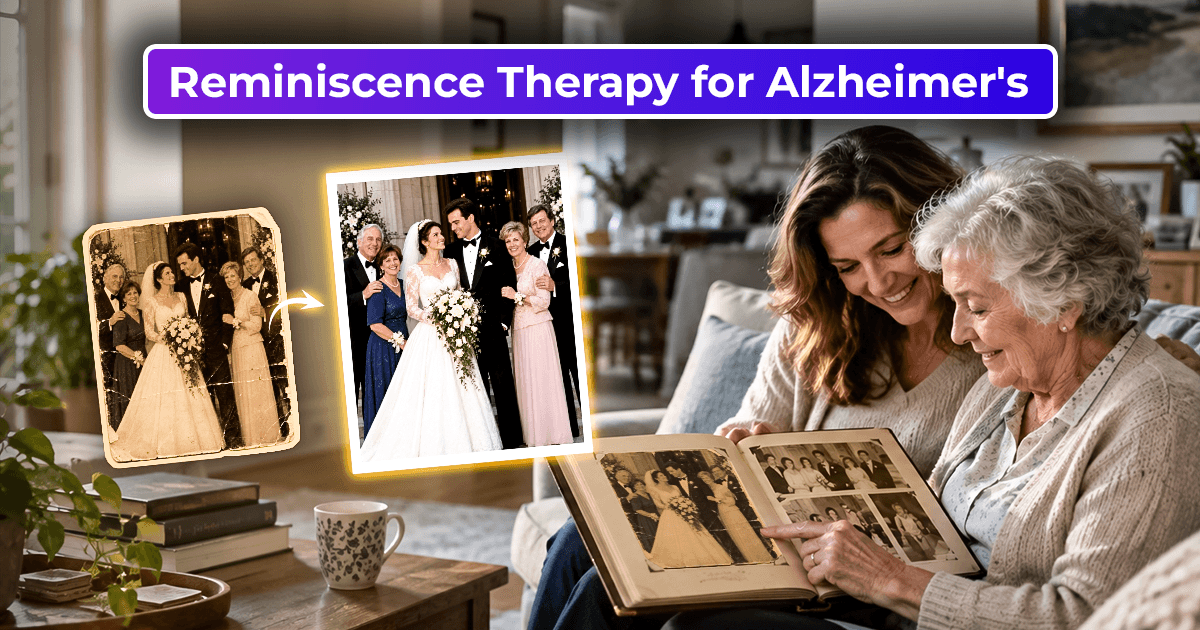
"Color brings the past into the present, bridging generations through the universal language of human sight."
Next Steps: Breathing Life with Motion
Once your photo is vibrant and fully restored, try applying a gentle facial animation preset in the Studio to see your loved ones blink, smile, and look around as if they were right in front of you.